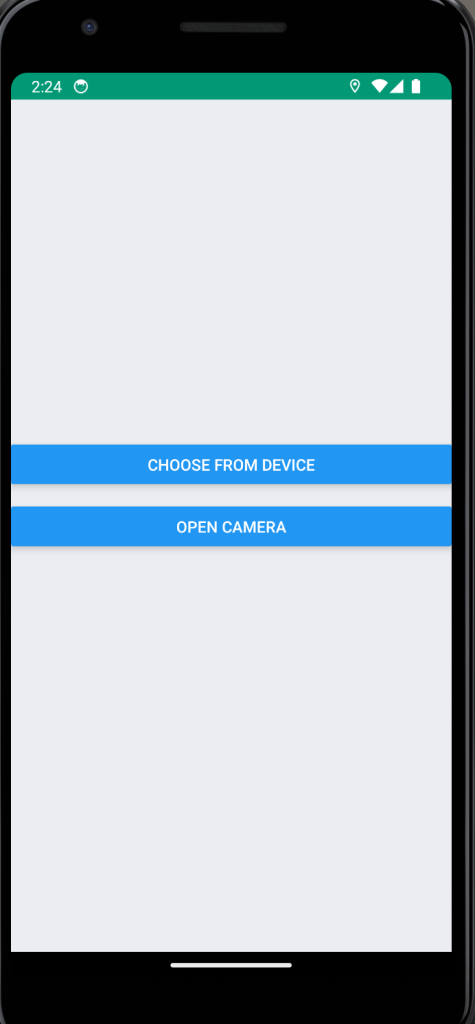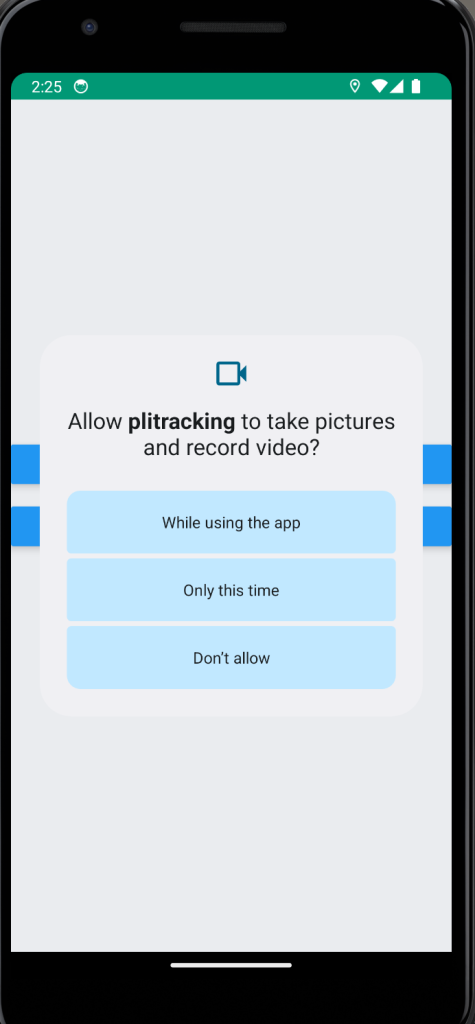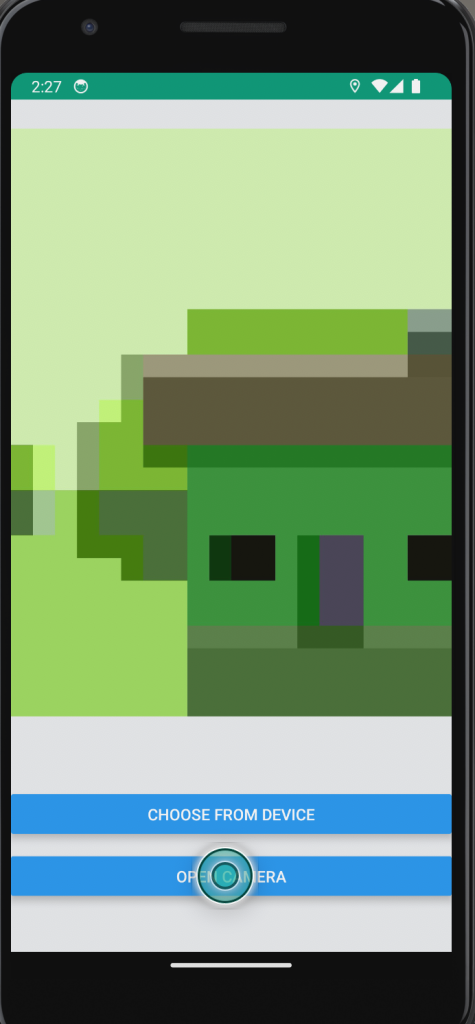
React Native Image Picker adalah library yang berguna untuk memungkinkan pengguna memilih gambar dari kamera perangkat atau galeri gambar. Dalam artikel ini, kita akan membahas cara menggunakan React Native Image Picker dalam langkah-langkah mudah.
Langkah 1: Instalasi React Native Image Picker
Langkah pertama adalah menginstal React Native Image Picker ke dalam proyek React Native Anda. Anda dapat melakukannya dengan perintah npm atau yarn.
Instal react-native-image-picker dan react-native-permissions
npm install react-native-image-picker react-native-permissions
or
yarn add react-native-image-picker react-native-permissions
Linked tools jika digunakan di IOS;
npx pod-install iosLangkah 2: Setting Library
Setelah menginstal library, kita perlu melakukan setting
Pada android tambahkan permission di AndroidManifest pada file: Project → android → app → src → debug → AndroidManifest.xml
<uses-permission android:name="android.permission.CAMERA"/>
<uses-permission android:name="android.permission.WRITE_EXTERNAL_STORAGE"/>
Langkah 3: Membuat Fungsi Kamera atau Memilih Gambar
Buat sebuah Komponen untuk menangani kamera
/* eslint-disable react/jsx-no-undef */
/* eslint-disable react-native/no-inline-styles */
import React, {useState} from 'react';
import {View, Image, Button} from 'react-native';
import {launchCamera, launchImageLibrary} from 'react-native-image-picker';
import {request, PERMISSIONS, RESULTS} from 'react-native-permissions';

export default function App() {
  const [selectedImage, setSelectedImage] = useState(null);
  const [permissionRequests, setPermissionRequests] = useState(0);
  // open gallery
  const openImagePicker = () => {
    const options = {
      mediaType: 'photo',
      includeBase64: false,
      maxHeight: 2000,
      maxWidth: 2000,
    };

    launchImageLibrary(options, response => {
      if (response.didCancel) {
        console.log('User cancelled image picker');
      } else if (response.error) {
        console.log('Image picker error: ', response.error);
      } else {
        let imageUri = response.uri || response.assets?.[0]?.uri;
        setSelectedImage(imageUri);
      }
    });
  };


  const requestCameraPermission = async () => {
    const cameraPermission = await request(PERMISSIONS.ANDROID.CAMERA);

    if (cameraPermission === RESULTS.GRANTED) {
      // You have camera permission, proceed with the camera code
      handleCameraLaunch();
    } else {
      // Handle the case where camera permission was denied
      console.log('Camera permission denied');

      // Check if we've already requested the permission a few times
      if (permissionRequests < 3) {
        // Increment the number of permission requests
        setPermissionRequests(permissionRequests + 1);

        // Request the permission again after a brief delay
        setTimeout(() => requestCameraPermission(), 1000);
      } else {
        // Inform the user that permission won't be requested anymore
        console.log("Camera permission won't be requested again");
      }
    }
  };

  // Camera open
  const handleCameraLaunch = () => {
    const options = {
      mediaType: 'photo',
      includeBase64: false,
      maxHeight: 2000,
      maxWidth: 2000,
    };

    launchCamera(options, response => {
      console.log('Response = ', response);
      if (response.didCancel) {
        console.log('User cancelled camera');
      } else if (response.error) {
        console.log('Camera Error: ', response.error);
      } else {
        // Process the captured image
        let imageUri = response.uri || response.assets?.[0]?.uri;
        setSelectedImage(imageUri);
        console.log(imageUri);
      }
    });
  };

  return (
    <View
      style={{
        flex: 1,
        justifyContent: 'center',
        width: 120,
        height: 120,
      }}>
      {selectedImage && (
        <Image
          source={{uri: selectedImage}}
          style={{flex: 1, width: 90, height: 90}}
          resizeMode="contain"
        />
      )}

      <View style={{marginTop: 20}}>
        <Button title="Choose from Device" onPress={openImagePicker} />
      </View>
      <View style={{marginTop: 20, marginBottom: 50}}>
        <Button title="Open Camera" onPress={requestCameraPermission} />
      </View>
    </View>
  );
}
Langkah 2: Jalankan aplikasi
Setelah membuat kompponen jalankan aplikasi
npx react-native run android